Update RPICT firmware (CT7V1/CT4V3/CT8)
Overview
This page provide information to update the firmware in boards RPICT7V1 version2, RPICT4V3 version2 and RPICT8.
Hardware require is either a Nanoprog or an Arduino UNO.
Download Sketch
Download the sketch from the dedicated page for the board.
RPICT7V1_v2.0#Files
RPICT4V3_v2.0#Files
RPICT8#Files
Erasing EEPROM
If upgrading from a major version change (e.g. 2.4 to 2.5) then an EEPROM erase will be required.
To do this upload the sketch below in the mcu. Let the mcu run once. Then you can now upload the sketch.
Sketch Upload
Using Nanoprog
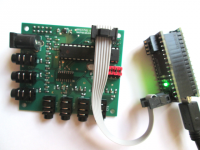
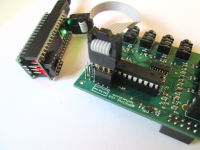
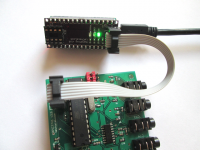
One can program the board using the Nanoprog programmer with a 6pin SPI connector.
In Arduino IDE select board as Arduino Uno. Upload sketch using File | Upload Using Programmer.
Using an ArduinoUNO
An Arduino UNO board can be used to program the chip. The micontroller should be removed from the RPICT7V1 board and fitted on the Uno to allow programming.
Burning Bootloader
Burning the bootloader should not be required. If you are using an Arduino UNO to upload the sketch and it fails then they are chances the mcu needs a new bootloader burn. Burning the bootloader can be done using the Nanoprog.
Write the new configuration
Once the sketch has been uploaded you should now write the new configuration. We recommend using the default configuration to test the board first. Default config can be obtained follwing this page. Over_Serial_Configuration_-_Sketch_2.6#Restore_Default_Config


